Things are continuing to progress nicely with the saw mill restoration. With a combination of penetrating oil, brute strength, and some judiciously applied heat, we’ve managed to get all the rusted parts moving again.
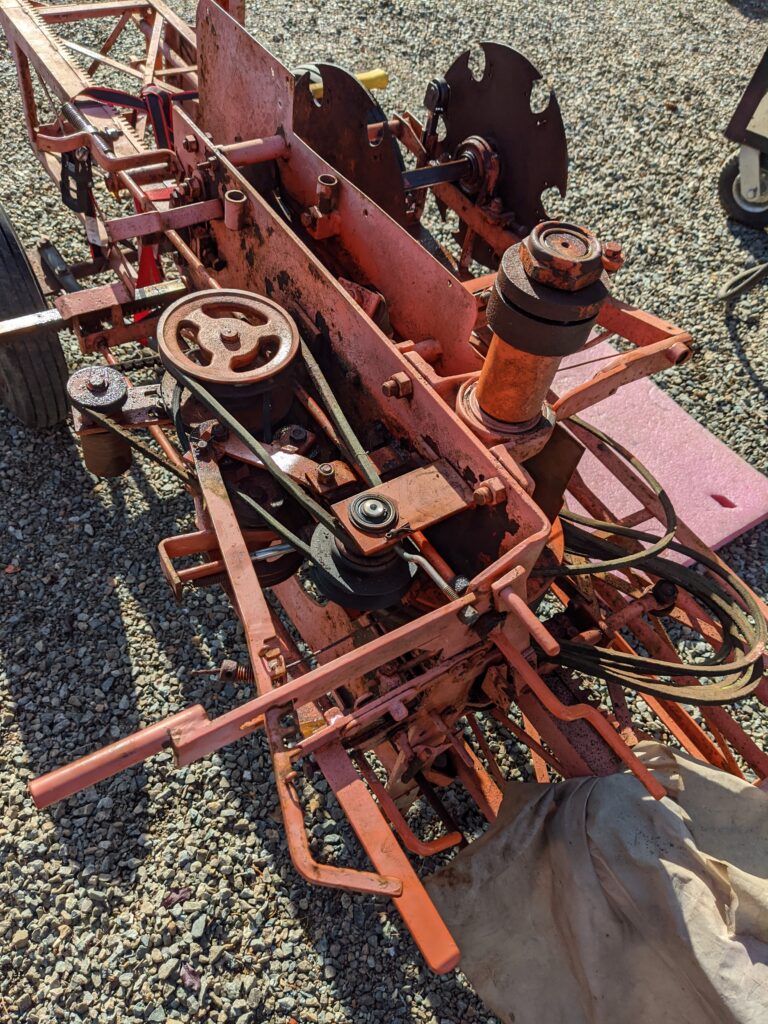
The carriage assembly had many parts that needed to be unstuck. The engine attaches to this carriage, with the belts transferring power from the engine to the saw blades and the carriage movement mechanisms.
Next we needed to free up the sleeves on the end stands. After several applications of penetrating oil and a large pipe wrench, we ended up applying heat to expand the metal and help loosen things up.
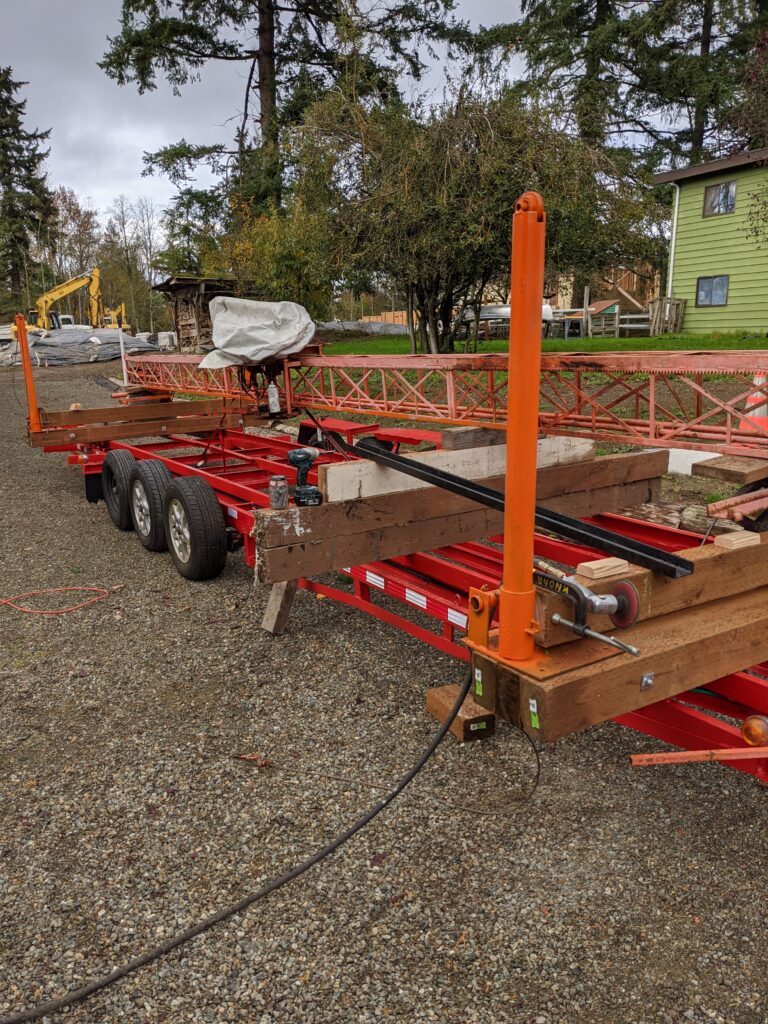
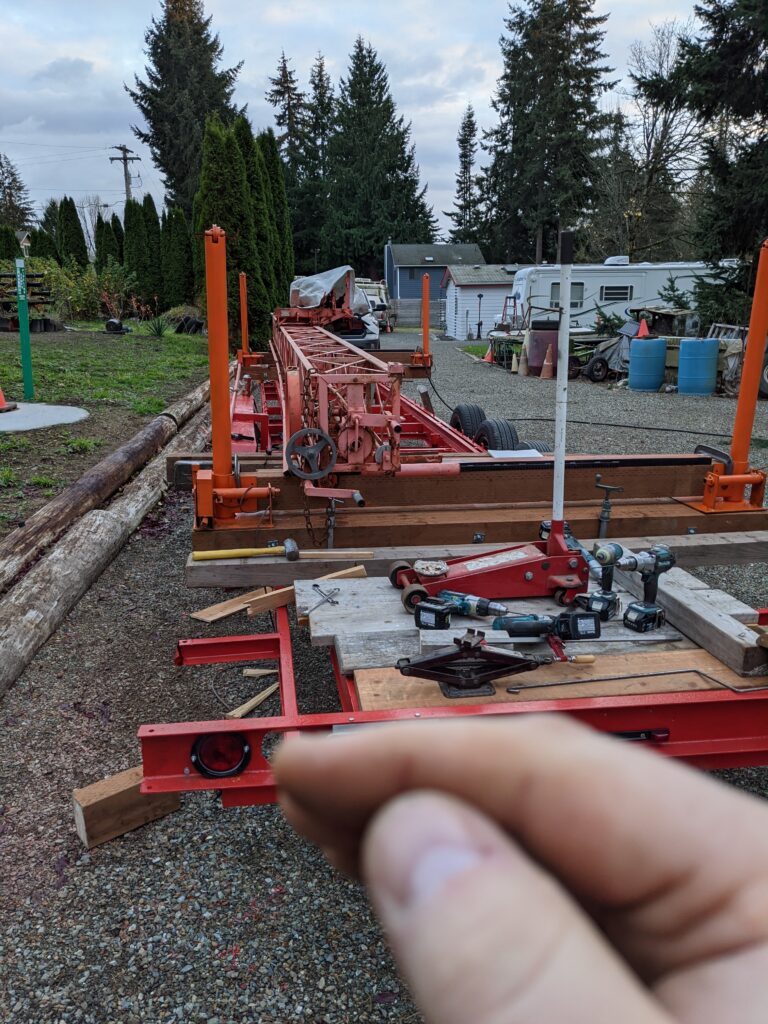
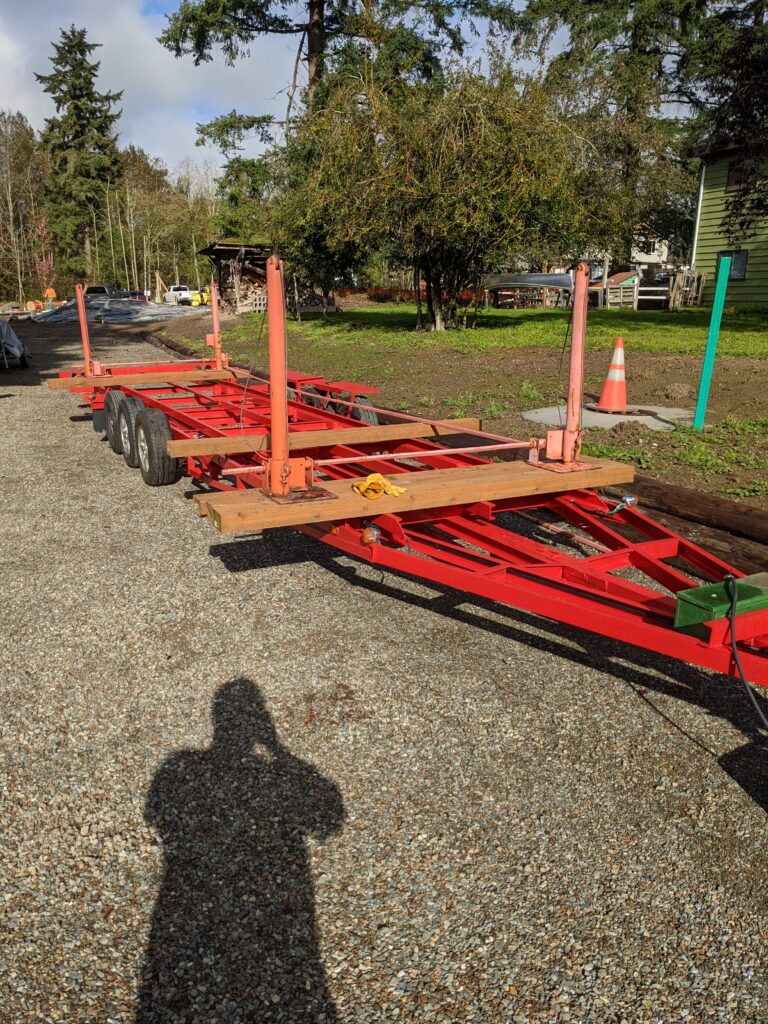
Once the end stands were freed up, we started assembling the stands and the rail on the trailer.
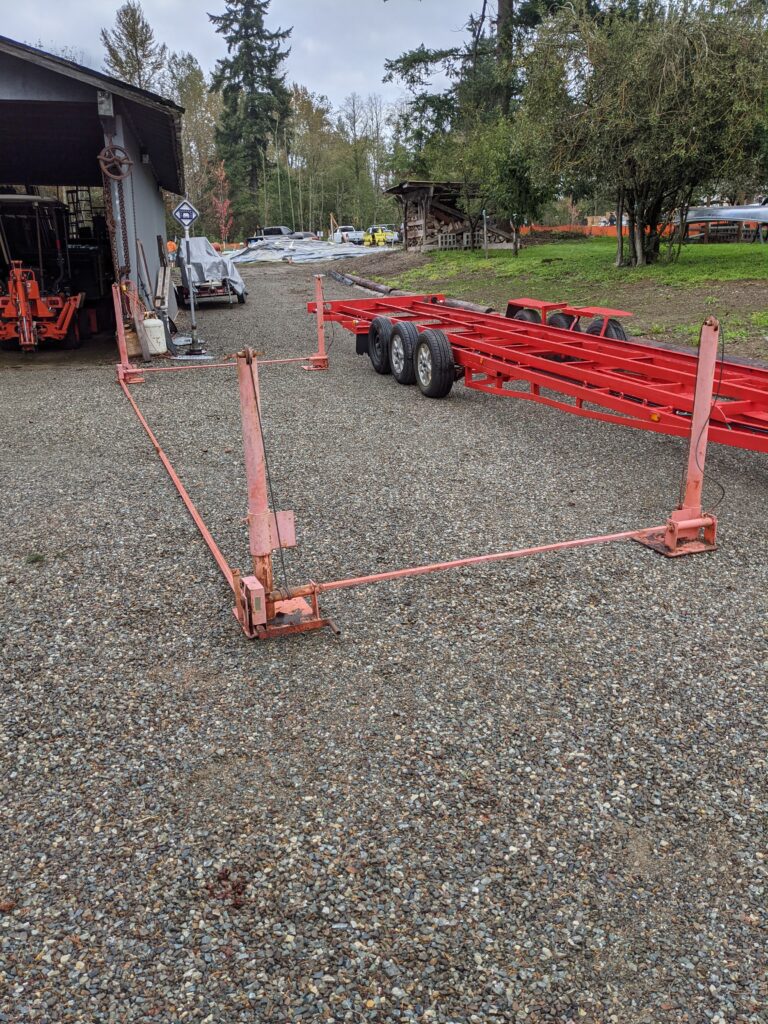
There are two cross-beams on either end of the trailer that connect the end stands. Metal rack-and-pinions are attached to the cross beams, and the rail travels along the rack-and-pinions to adjust the saw’s position across end of the log.
There’s still a lot more work needed to get the mill squared, and to get the engine onto the carriage, but it’s encouraging to see things starting to come together.
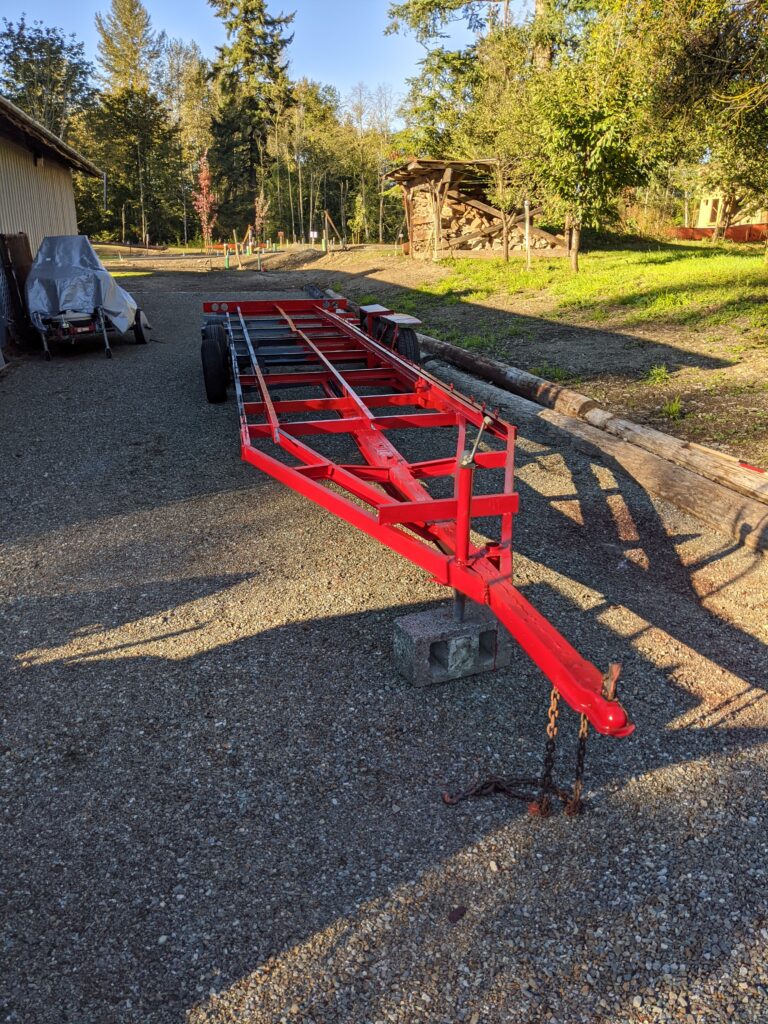
The first step was to get the trailer cleaned up and painted. You can see that starting above. I put primer on the particularly rusty parts to try to help the paint adhere better.
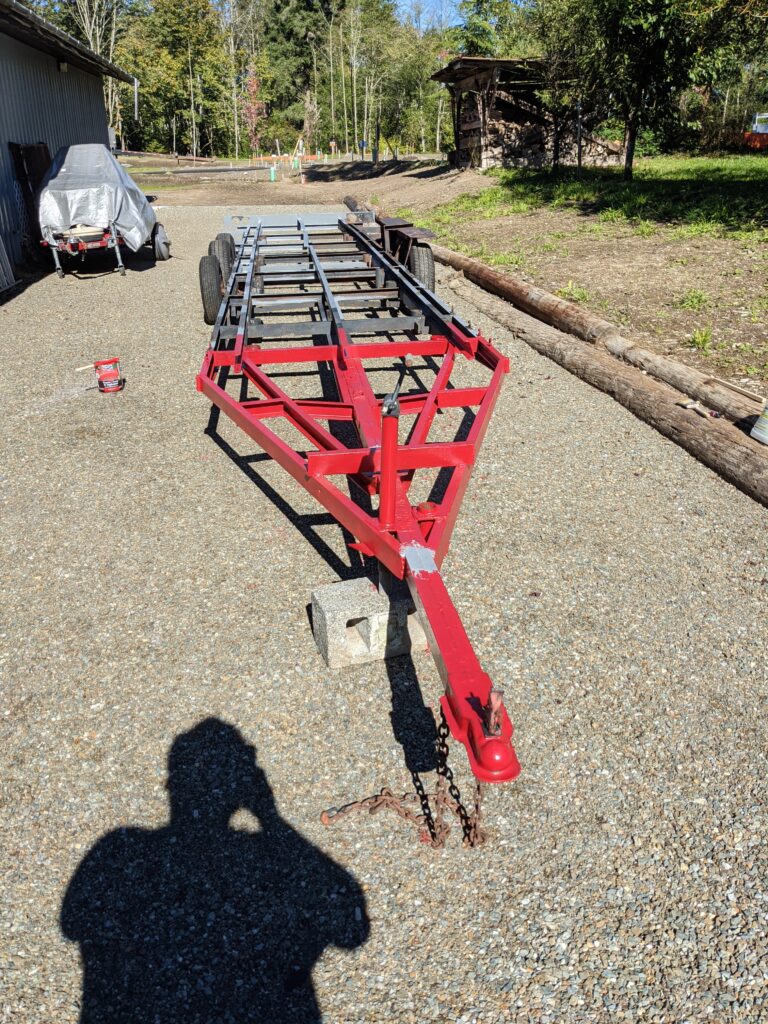
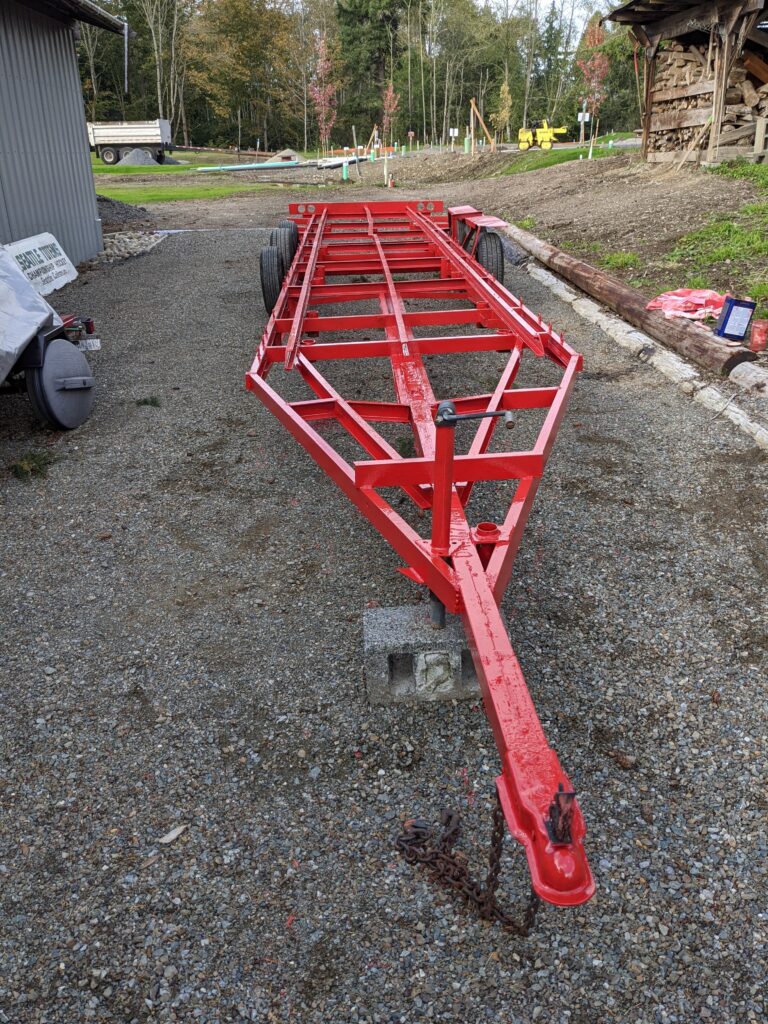
Progress continued over several weeks as weather and time permitted. The final result isn’t going to win any beauty contests, but it should keep the trailer from rusting out underneath me.
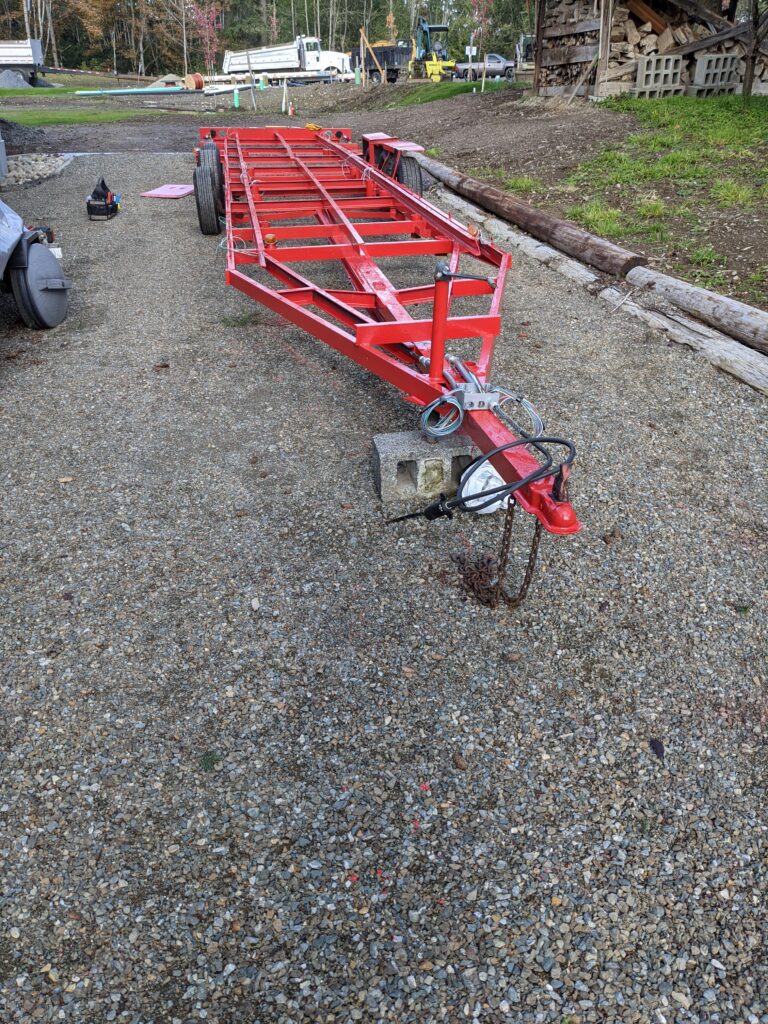
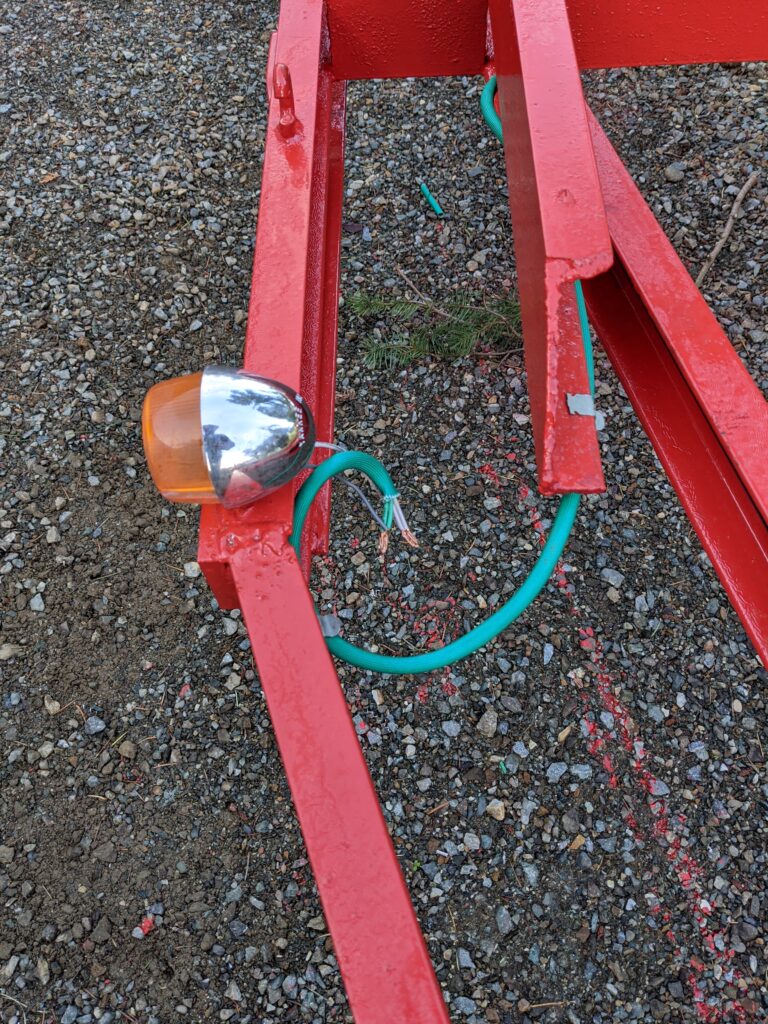
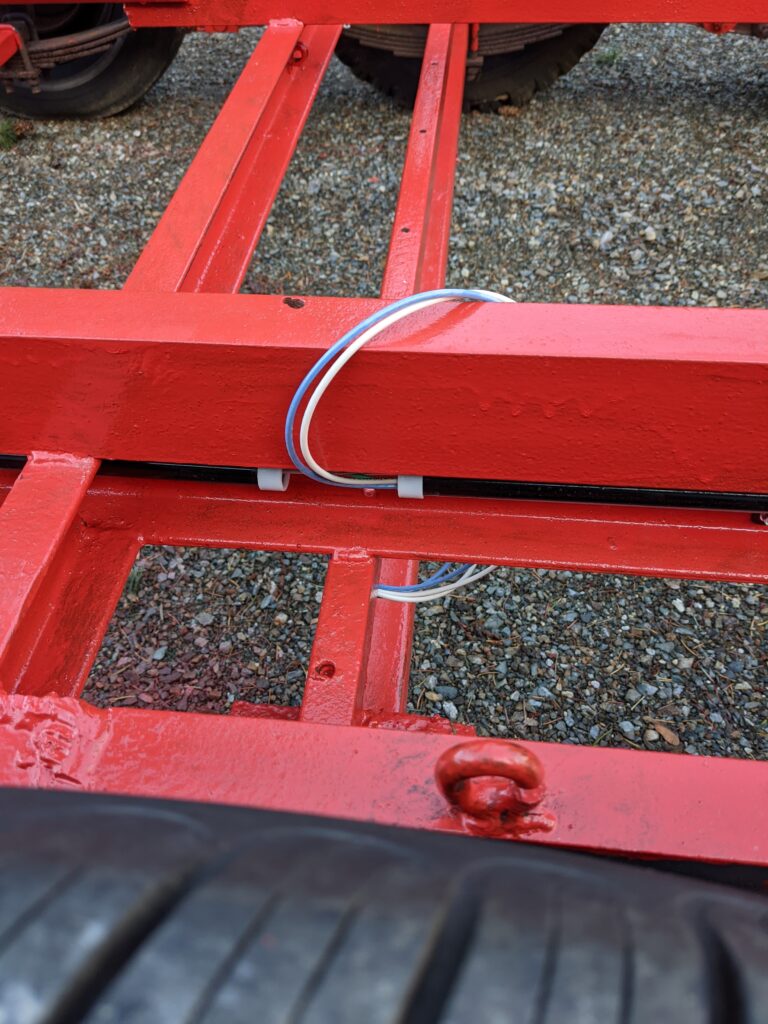
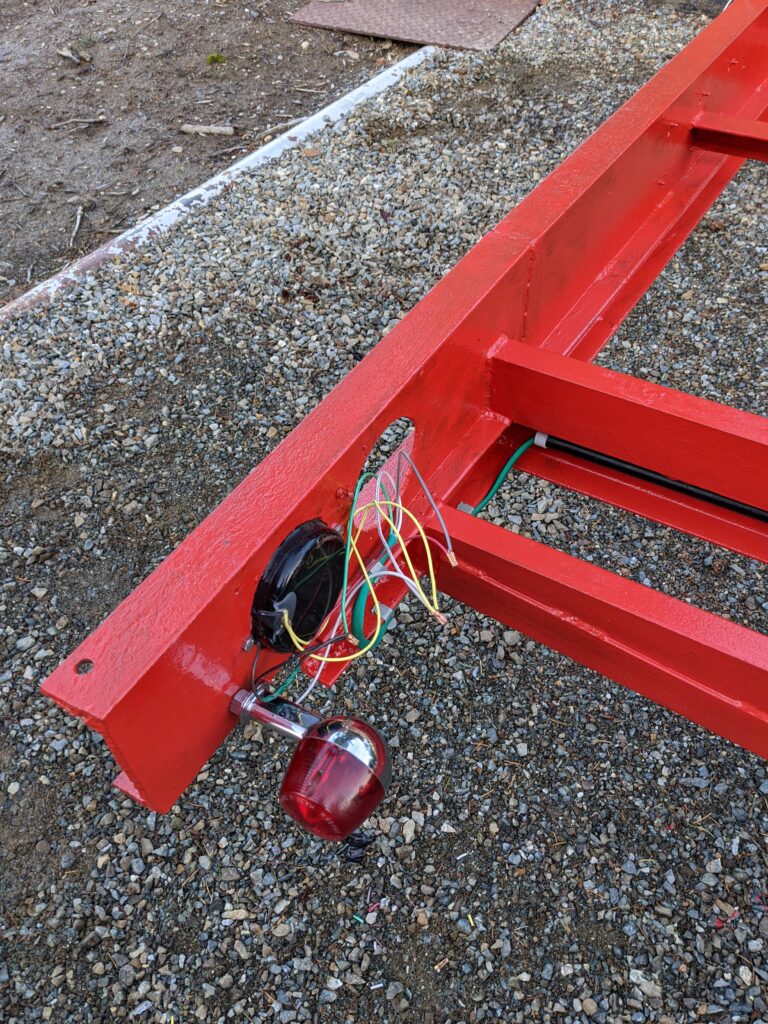
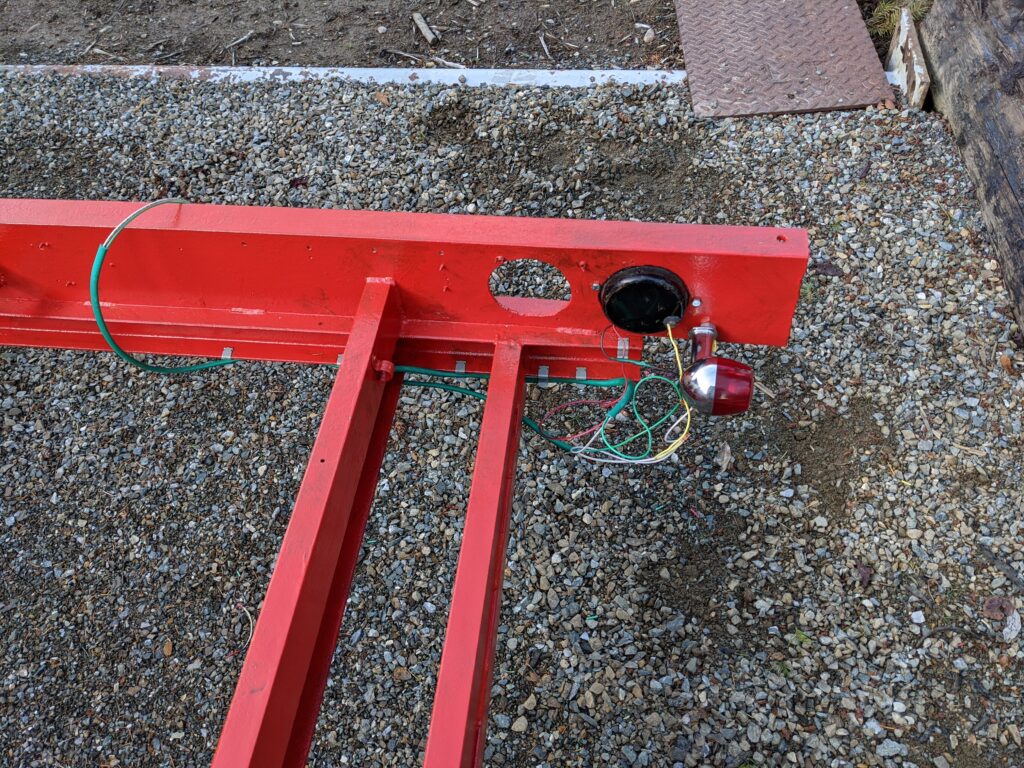
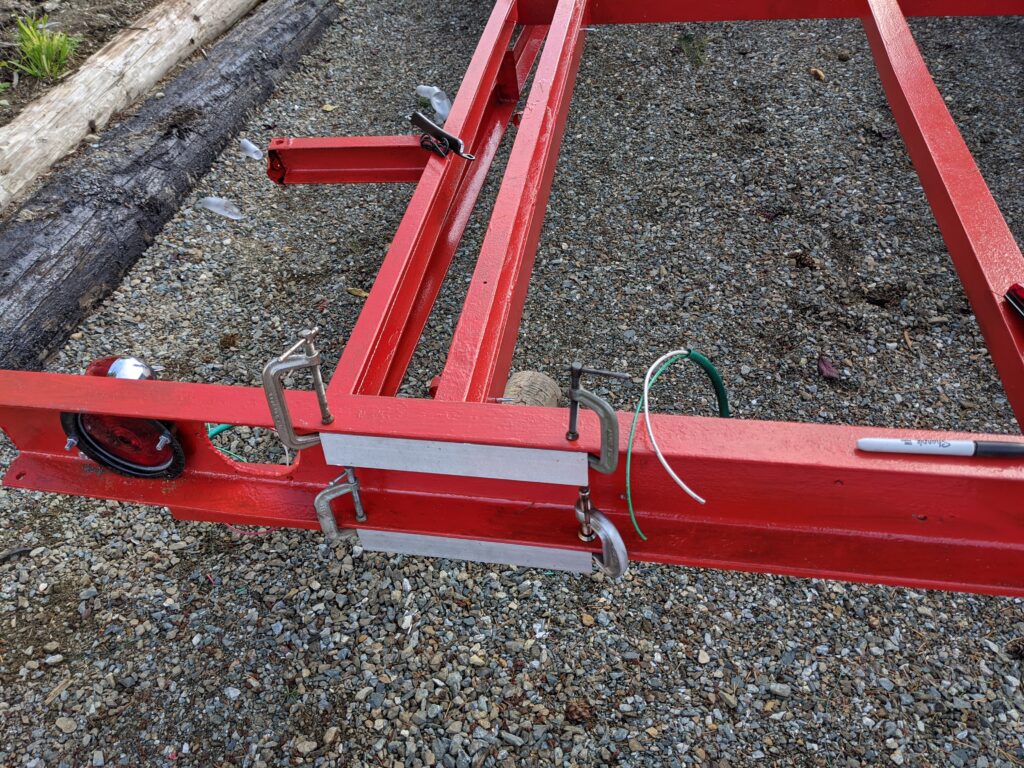
Next up was wiring. My uncle, a retired electrician, was a very helpful resource. He mapped out the wiring diagram and ran conduit and wires down the center of the trailer. All I had to do was attach the various lights to the frame and wire them up.
Progress pic from installing a base for the license plate. Apparently I still need to capture a picture of the final result.
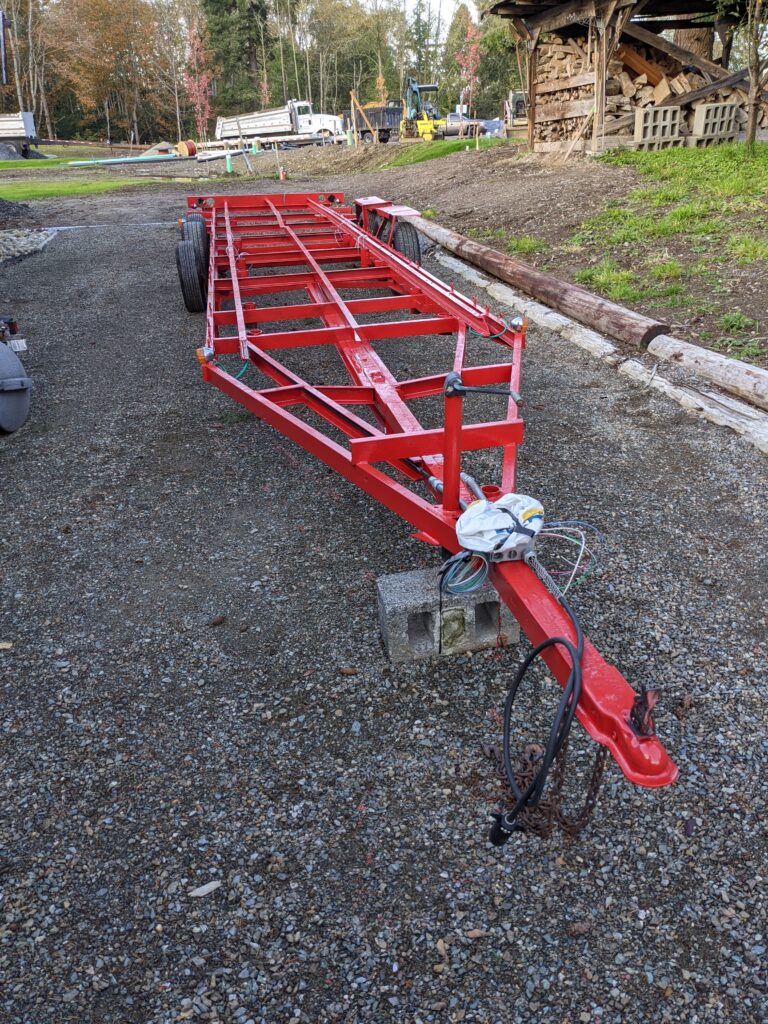
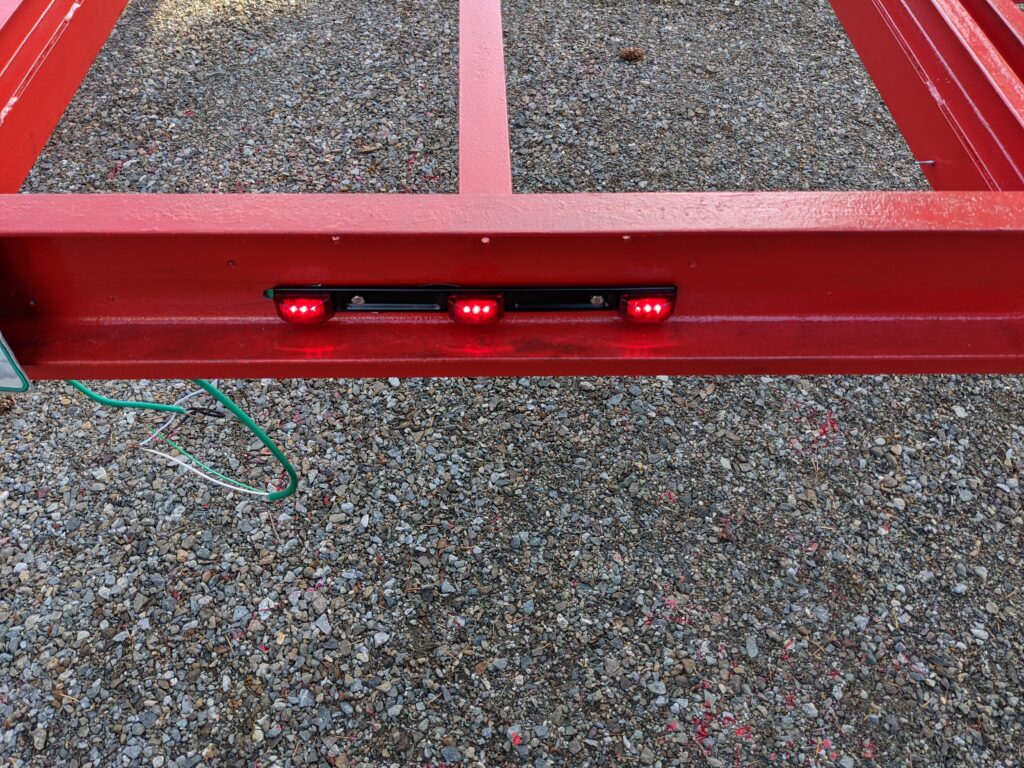
We grabbed a car battery and tested the wiring. Amazingly, everything seemed to work. Considering that we’d used random lights off other trailers (and a motorcycle), this was kind of surprising.
After we finished testing the wiring, we taped and zip tied everything up (which I apparently forgot to take any pictures of). Several of the old tires wouldn’t hold air, so we swapped in some new wheels that my uncle had laying around.
With the trailer work completed (minus some reflective tape), I started assembling the saw mill again, to help position the 4×6 beams that will support everything.
After getting an idea of how the mill will be laid out on the trailer, we started working at loosening up all the moving parts. Again, I forgot to take any more pictures at this stage, so I’ll have to capture more next time I’m out at the barn.
Most of the parts have been sitting out in the weather for about 30 years, but amazingly most of them started moving quite easily with some generous application of “Knock’er Loose” penetrating oil. There are a few pieces that will need a few more applications of oil, and perhaps some forceful persuasion, but it’s exciting to see the saw mill starting to come back together again.
A couple weeks ago, my wife told me about an old saw mill that had been sitting on her family’s property since she was a kid. Her uncle Tom had brought it up, offering to help me restore and use it for milling lumber.
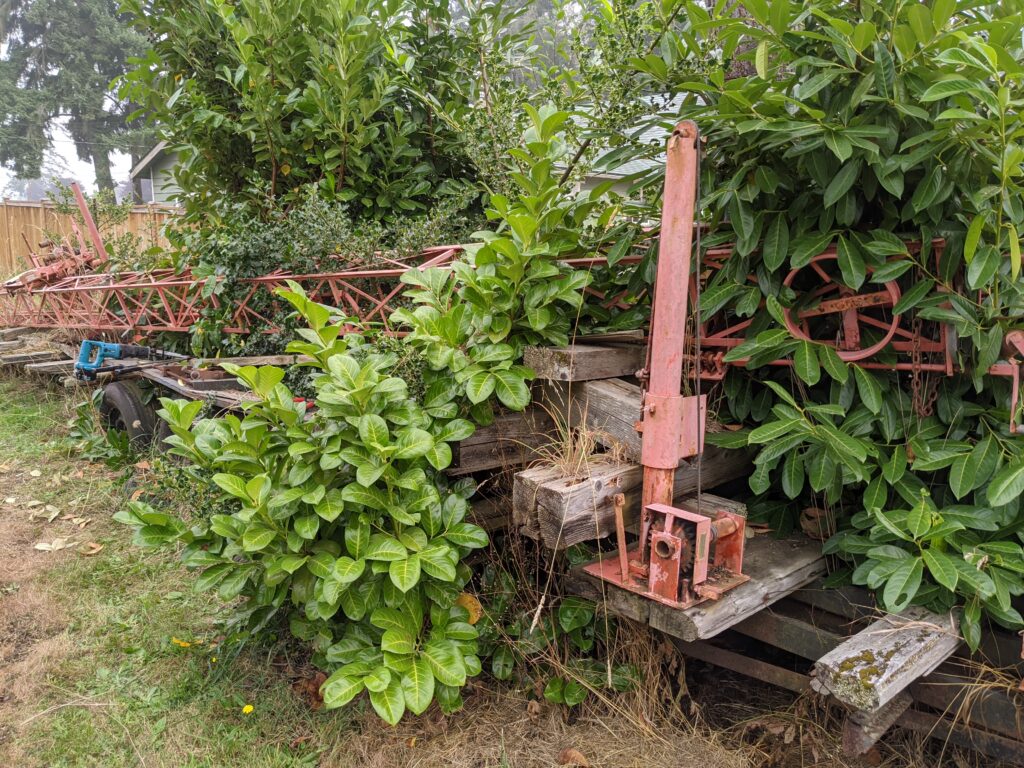
I had no idea what kind of mill it was, but I was excited to check it out and fix it up. The only issue was that “there are a few trees growing through it”.
As it turns out, there are more than a few trees growing through the mill 😅
When I showed up to work on the mill, it looked pretty daunting. The picture above actually shows the state after a small trailer full of brush had already been cleared away.
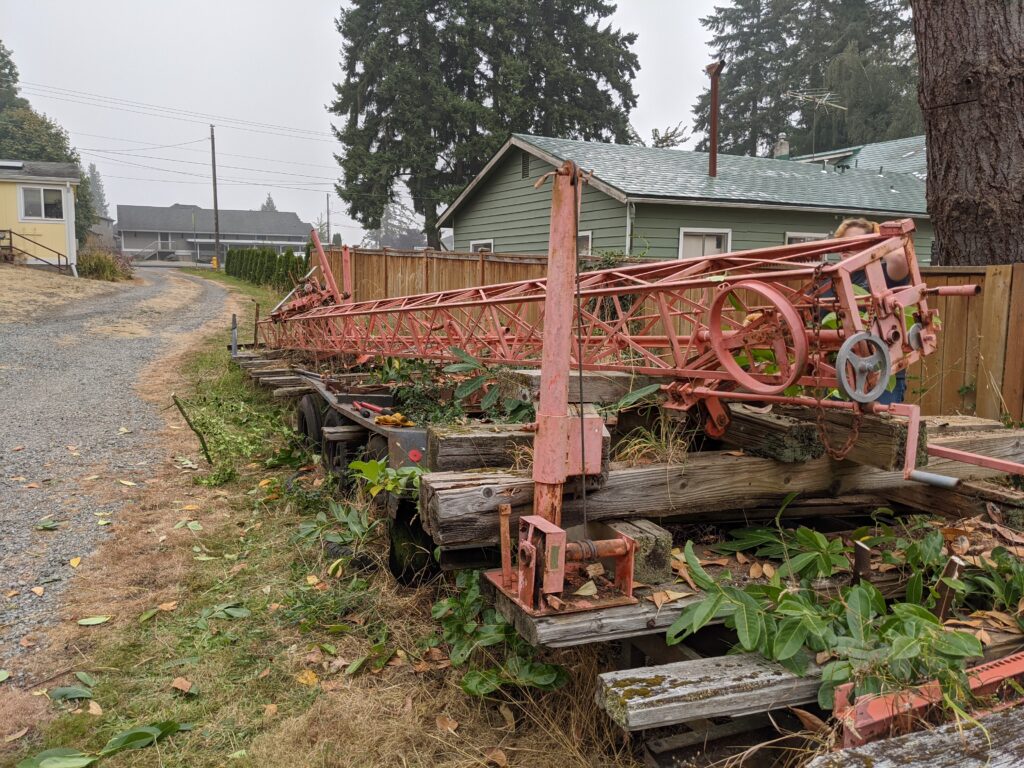
However, after only a half hour of work, we had mostly cleared away the brush and could see the state of the mill. Things went quickly with four people helping cut and clear away the brush.
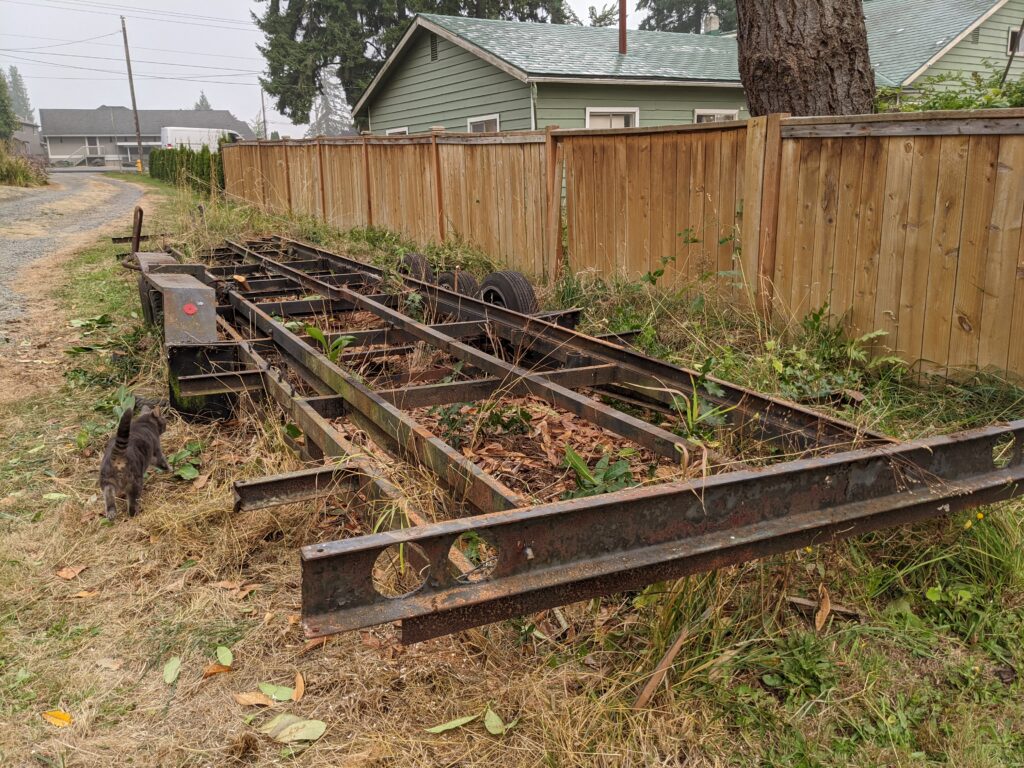
With the brush cleared away, you can see the frame of the mill, as well as the (rotted) timbers on the trailer that supports the mill.
This mill was purchased by the family in 1972. It’s a Mobile Dimension Model 127 saw mill, made by Mobile Manufacturing. If you’re curious about this type of mill, you can learn more from this promotional video.
This mill was actually purchased in 1970 by someone in Montana, then sold to my wife’s grandfather a couple years later. After being used to cut lumber for several construction projects on the property, it has sat unused for the last 30+ years. The trailer and frame have been out in the weather all that time, but fortunately the engine and saw head have been stored out of the elements, so we’re optimistic about our ability to get it all working again.
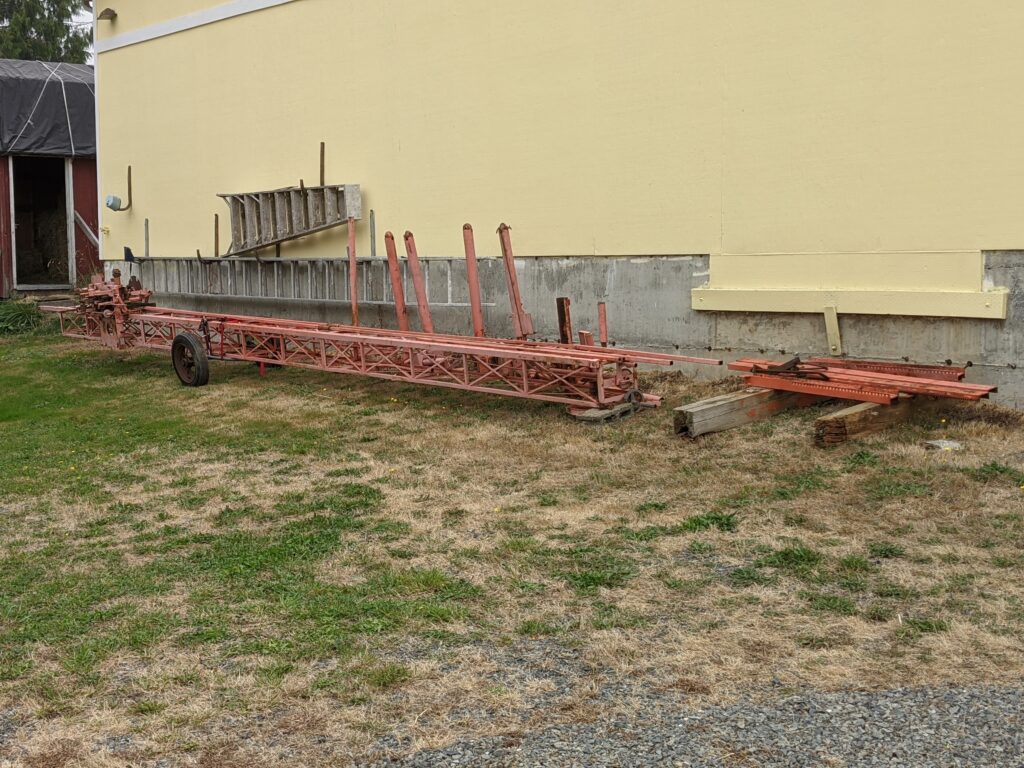
Our next step was to finish removing the mill so that we could clean up and rebuild the trailer.
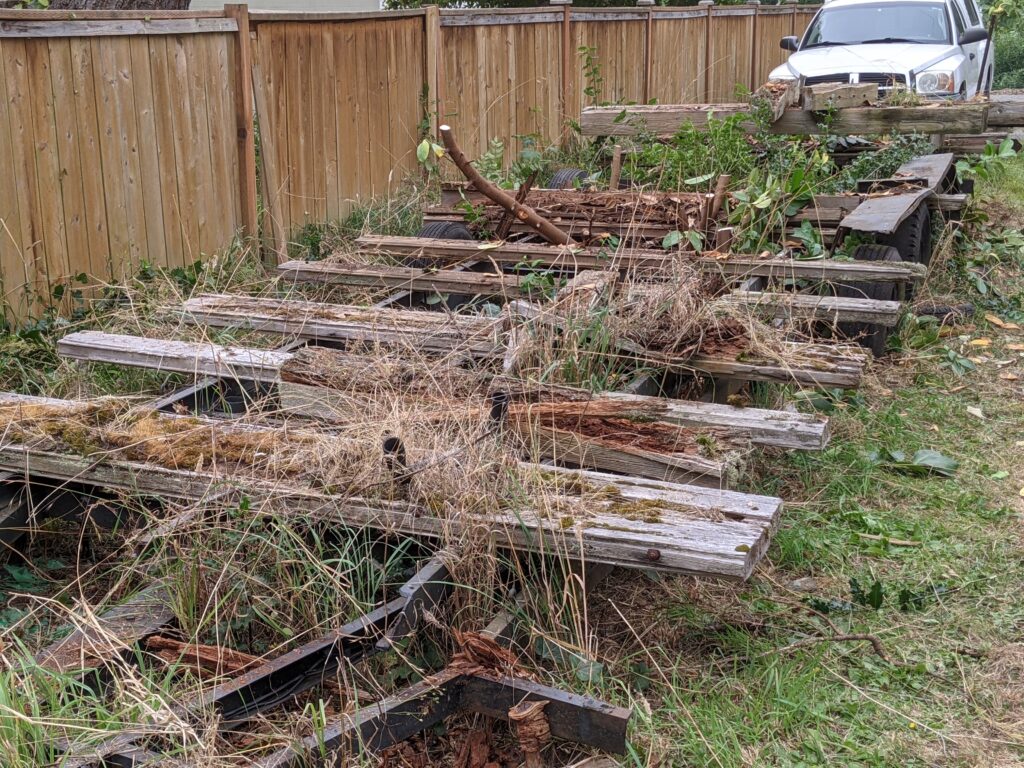
With the mill removed, the next task was to clear off the rotten deck boards from the trailer and clear away the remaining brush. This actually took us another hour of work. The boards were bolted around the frame of the trailer, and the hardware had rusted together, so we ended up using a chainsaw to cut up the boards. After cutting away most of the wood, we were able to split the remaining chunks that were still attached by the rusted hardware, clearing them away from the trailer.
The decking has an interesting story of its own. It comes from an office building that my wife’s grandfather owned. When the city condemned the building for a new development, he salvaged some cedar timbers from the building and repurposed them for this trailer. Cedar’s resilience and rot resistance was evident as we pulled the boards off of the trailer. While some of them were rotten through and through, many were still surprisingly solid at their centers. Still, with the weight that the decking needs to support, we will be starting fresh with new 4×6 pressure treated lumber.
Over the weekend, uncle Tom got the trailer down to his shop and worked on the tires. Amazingly, 4 out of the 6 tires were still able to be inflated, despite sitting in the dirt for 30 years.
Last week we worked on stripping out the old wiring and sketching up a new wiring diagram. Tom is a retired electrician, which has been incredibly helpful because I’m a novice when it comes to wiring. Before we installed new wiring, we wanted to clean up and paint the frame, so that was our plan for this week. Unfortunately it has rained most of this week, so all I’ve been able to do is put primer on the areas where the old paint has rusted or chipped away. I’ll post more pictures when the rain stops and we’re able to make more progress.